How to Export Exchange Emails to PST File: A Comprehensive Guide
In today's digital age, emails serve as a primary mode of communication for businesses worldwide. With Microsoft Exchange Server being a popular platform for managing emails, it's essential to know how to export Exchange mailbox to PST (Personal Storage Table) file. This guide will walk you through the process step by step.
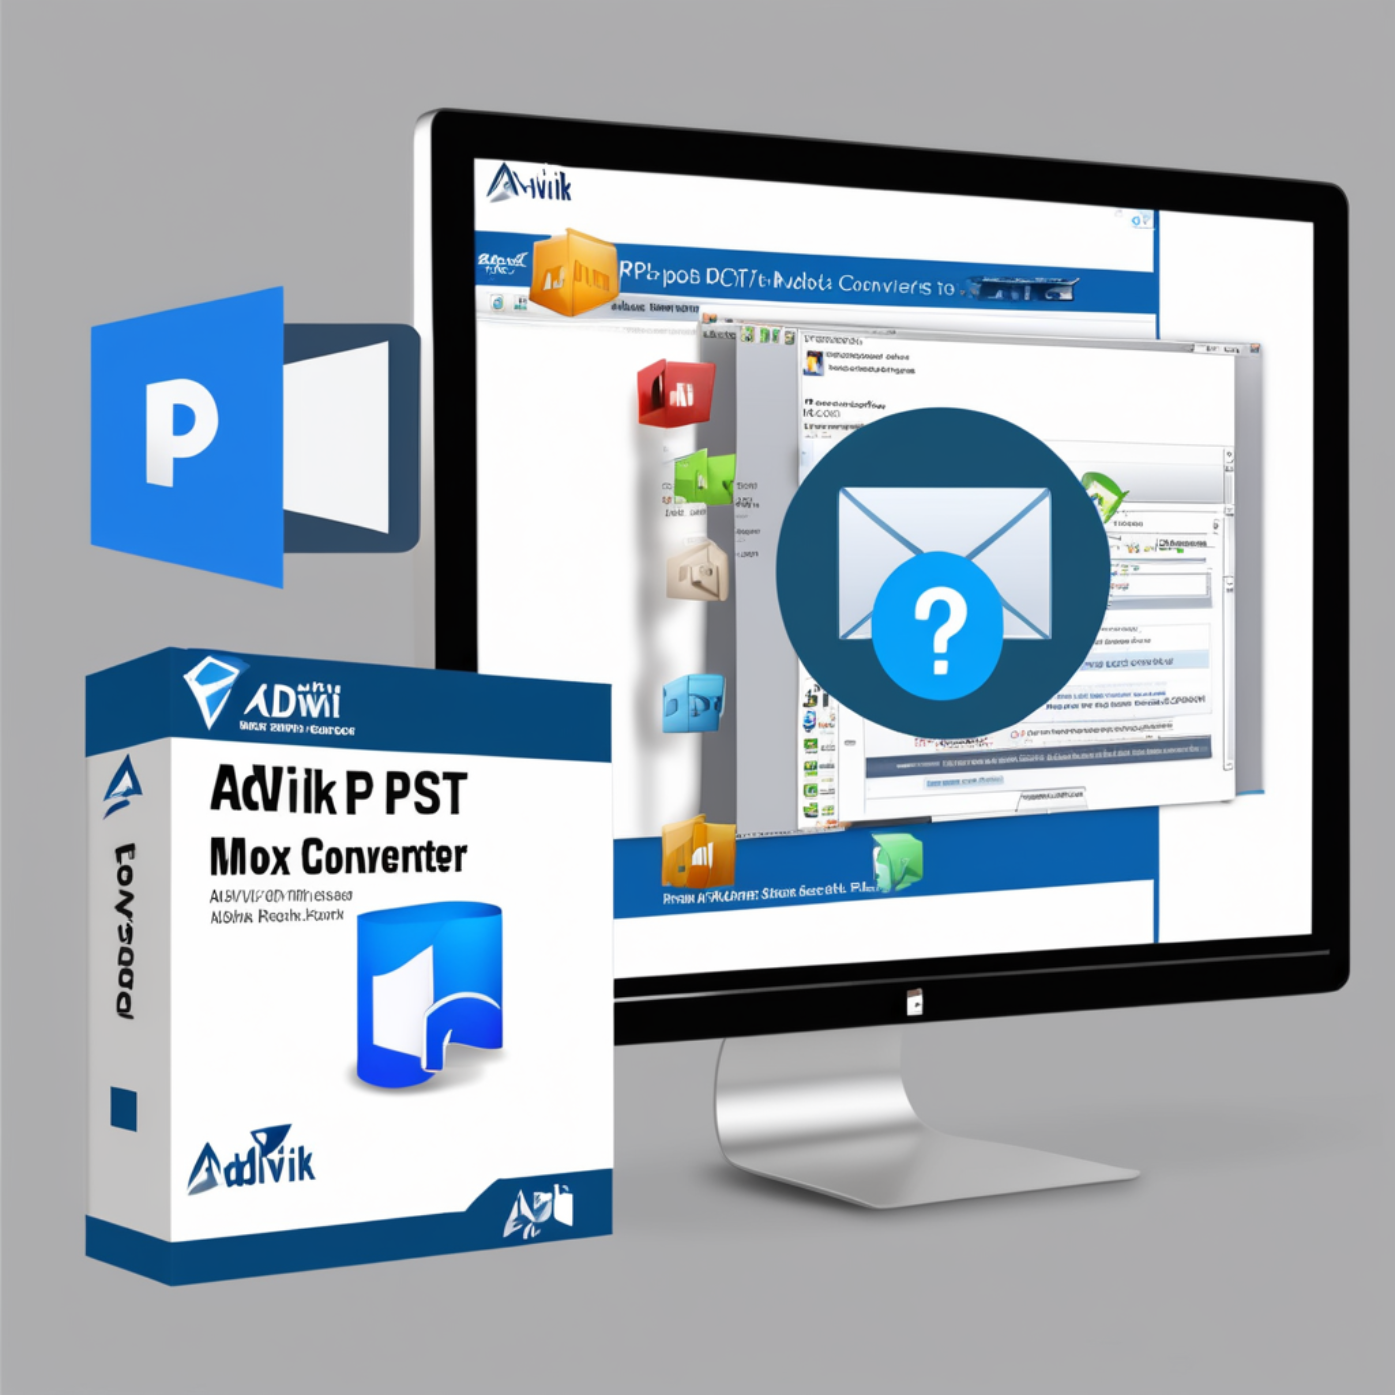
Note: For instant export you can try the Advik Exchange Sever Backup Tool for Windows. The tool seamlessly exports all emails from your Exchange mailbox to a PST file, ensuring a hassle-free process. It guarantees the safety and accessibility of vital business communication by enabling users to effortlessly back up mailboxes, emails, contacts, calendars, and other essential data with ease.
Step 1: Access Exchange Admin Center
1. Log in to Microsoft 365 Admin Center:
Begin by logging in to the Microsoft 365 Admin Center with Exchange admin rights. This grants you access to the Exchange Administration Center, where you can manage Exchange-related tasks.
2. Navigate to Exchange Administration Center:
Once logged in, locate the Admin Centers section and select "Exchange" to access the Exchange Administration Center. This centralized hub allows administrators to manage various aspects of Exchange Server.
Step 2: Select Mailboxes for Export
1. Go to the "Recipients" Tab:
Within the Exchange Administration Center, navigate to the "Recipients" tab. Here, you'll find a list of all mailboxes configured on the Exchange Server.
2. Choose Mailboxes to Export:
Select the specific mailboxes you wish to export. You can either choose individual mailboxes or select multiple ones simultaneously.
Step 3: Initiate Export Process
1. Click on "Export to PST File":
After selecting the desired mailboxes, click on the ellipsis (...) button and choose "Export to PST file" from the dropdown menu.
2. Specify Export Parameters:
Follow the on-screen instructions to specify export parameters. This includes defining the target location where the PST files will be saved and configuring any additional options such as filtering criteria or date ranges.
Step 4: Confirm and Execute Export
1. Review Export Settings:
Before proceeding, review the export settings to ensure they align with your requirements. Double-check the selected mailboxes, export location, and any other configured parameters.
2. Initiate Export Process:
Once you're satisfied with the settings, initiate the export process. Depending on the size of the mailboxes and the network bandwidth, this process may take some time to complete.
Step 5: Monitor Export Progress
1. Monitor Export Status:
During the export process, you can monitor the progress and status of each mailbox being exported. Exchange Server provides real-time updates on the export status, allowing you to track the process effectively.
2. Troubleshoot Any Issues:
In case of any errors or issues encountered during the export process, troubleshoot them promptly to ensure a successful outcome. Common issues may include network connectivity issues, insufficient permissions, or mailbox corruption.
Step 6: Verify Exported PST Files
1. Confirm Completion:
Once the export process is complete, verify that the PST files have been successfully generated and saved to the specified location.
2. Test PST Files:
To ensure the integrity of the exported data, test the PST files by importing them into a compatible email client such as Microsoft Outlook. Verify that all emails, attachments, contacts, and other data have been accurately preserved.
Conclusion:
Exporting Exchange emails to PST files is a crucial task for ensuring data preservation, migration, or backup purposes. By following the steps outlined in this guide, administrators can efficiently export mailboxes from Exchange Server to PST files with ease and confidence. Effective management of email data is essential for maintaining business continuity and compliance with regulatory requirements.


Write a comment ...